It was interesting that in a fairly short period of time after moving back to Austin, I got asked to do two projects that involved cutting apart a wedding dress. I admit it, there's something satisfying in that for the perpetually single gal. But they were great challenges too.
The wedding dress dated to the early 1980s and wasn't made out of the nicest of polyester satins. We worked up a plan that consisted of purchasing new silk satin for the base fabric of the pillow, and layering that with the sheer overlay fabric from the dress and artfully arranging lace details from the train.
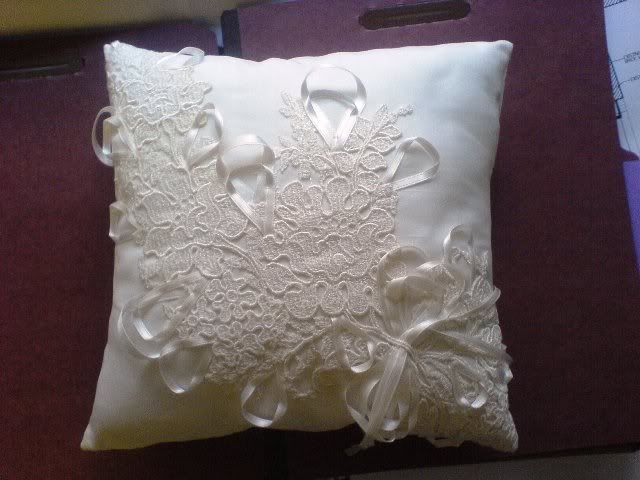
The lace, of course, was all hand-stitched down, with the addition of the decorative ribbons to make the tie ribbons not stick out quite so much.
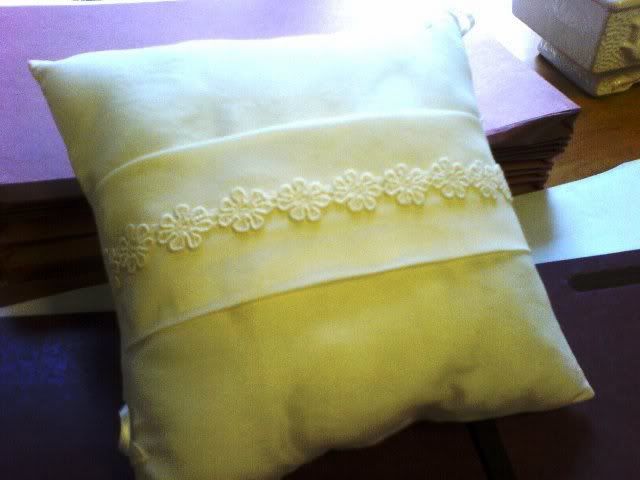
This lace was the edging off the train and incorporated just into the holder of the pillow. I was pretty touched to be asked to work on this project and was very pleased with the outcome.
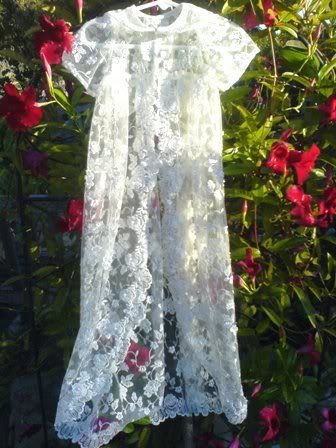
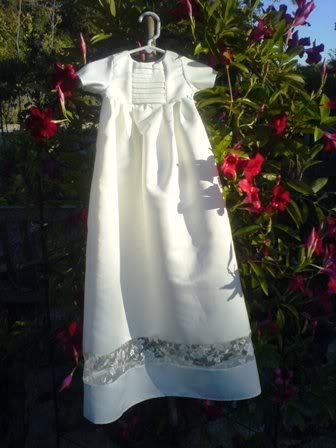
Sometime after that, one of my college roommates asked me about making a Christening Gown for her using her wedding dress. This gown was another with a satin base under a lace overlayer. The idea behind the basic design was to have a satin dress that wasn't too frilly, with a lace coat that could be worn over it. Their first child is a girl, but anticipating possible future boys in the family, she wanted something that could be used for all the children without being overly gender-oriented either way.
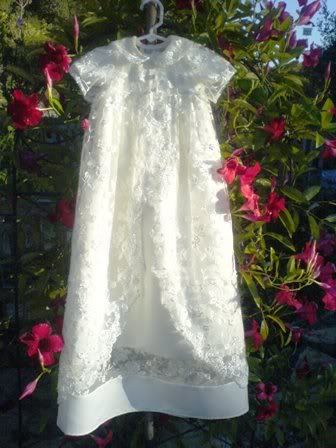
My friend shared with me links for newly made gowns that she liked and so between those, a Simplicity pattern and my mom's Martha Pullen book (we used to watch her PBS show religiously and drool over the antique laces), I cobbled together this pattern.
It was a challenge. As big as a wedding dress skirt may seem, it's not that big when you're trying to make a long, very full skirt for a Christening gown. I went through a very experimental muslin process to ensure that I had enough satin to get some fullness. I opted for the pleats rather than the gathering to meet that gender-neutral feel, but also because the satin was thick and wouldn't have cooperated that well with gathering.
I added the small touch of lace, sans beading to the dress to make it tie together nicely. The edging on the lace jacket was from the lace overlay of the dress, but had to be all reattached by hand as part of the process.
The buttons on the jacket were from the dress as well. Rather than sew in buttonholes on the lace, I used ribbon for loops. The back of the dress buttons as well, but with new, flat buttons, for comfort.
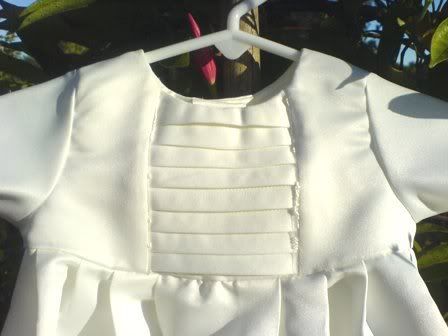
The horizontal tucking was a detail straight from a ready-made dress that my friend liked. It didn't turn out as neat as I wished it had, but that fabric was a pain, and I'm the only one who notices the flaws, I'm sure. It doesn't show up that well in the photo, but there are vertical inserts of the lace to either side of the tucks for another little touch.
This was another project that I was very proud to have accomplished. It's not as fine as many handmade Christening gowns, but it's a lot more special than something store bought. And it gave me the opportunity to try some things that I'd never attempted before.


Caroline, Your work is stunning! You are AWESOME! Well done, my friend!
ReplyDeleteThanks Shelly!
ReplyDelete